 Blatrixo Machine
Blatrixo Machine
Blatrixo Machine
A durable finish does not happen by accident. It starts with a clear understanding of the part, its material, and the conditions it will face. A steel bracket exposed to moisture needs different protection from an aluminum panel handled indoors. Small choices matter.
So, what makes surface treatment processes effective? The answer is not one coating or machine setting. Effective treatment depends on matching preparation, process controls, and inspection to the job. Even a high-quality coating can fail if oil remains in a corner or the surface is too rough for proper adhesion. That is easy to overlook.
This guide explores seven practical tips for improving surface treatment results. It looks at cleaning, surface preparation, process selection, and consistent operating conditions. It also considers how to verify results using suitable checks, such as visual inspection, thickness measurement, or adhesion testing. The right method depends on the material and the required performance.
Experience on the production floor can reveal problems that a specification does not show. A part may look clean under bright lights yet retain residue around a seam. Reliable procedures, trained operators, and recorded process settings help reduce these surprises. They do not remove every uncertainty.
Surface treatment is a balance between performance, cost, and repeatability. The following tips offer a grounded way to assess that balance, identify weak points, and make improvements. Some results may still need review. That is part of doing the work carefully.
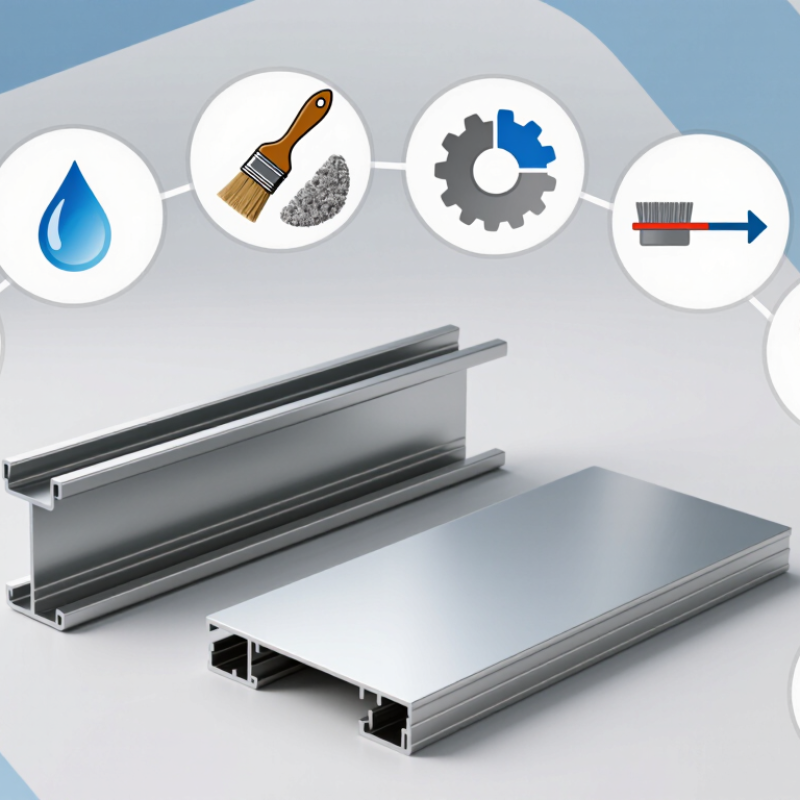
What Makes Surface Treatment Processes Effective? 7 Tips
Understanding the Purpose of Surface Treatment
Surface treatment changes a material’s outer layer so it performs better in service. It may remove oil, reduce corrosion, improve paint adhesion, or prepare metal for bonding. Cleaning removes invisible residues. Abrasion creates a controlled texture, while conversion coatings can add a protective layer. The right process depends on the material, its environment, and what comes next.
That sounds simple. It isn’t. NACE International’s 2016 IMPACT study estimated the annual global cost of corrosion at US$2.5 trillion, or 3.4% of global GDP. The report also estimated that applying existing corrosion-control practices could save 15–35% of corrosion costs. Those figures cover many measures, not surface treatment alone. Still, they show why preparation deserves attention.
Effective treatment supports the whole system: the metal, coating, fasteners, and operating environment. A roughened panel may hold paint well, but excessive roughness can leave thin spots. A clean surface can still fail if it is handled with oily gloves before coating. Small details matter. One practical check is to test adhesion on a treated sample before full production. Results can vary, and treatment is not a substitute for inspecting the finished part.
| Tip | Purpose | Example Process or Practice | What to Check |
|---|---|---|---|
| 1. Define the required function | Choose treatment based on the needed outcome, such as corrosion resistance, wear resistance, appearance, or improved coating adhesion. | Compare the service environment and performance requirements before selecting a coating, conversion layer, or finishing method. | Specify relevant acceptance criteria, such as appearance, adhesion, corrosion performance, or friction behavior. |
| 2. Match the process to the substrate | Ensure the treatment is suitable for the base material and does not cause unacceptable damage or dimensional change. | Consider material-specific options, such as anodizing for suitable aluminum alloys or passivation for stainless steel. | Confirm alloy, prior processing, heat sensitivity, and any dimensional or surface-finish limits. |
| 3. Clean and prepare the surface thoroughly | Remove oils, dirt, oxides, and other contaminants that can interfere with coating formation or adhesion. | Use an appropriate sequence of degreasing, rinsing, and, when required, mechanical or chemical preparation. | Check cleanliness and confirm that residues, handling marks, and unwanted oxide are controlled before treatment. |
| 4. Control critical process conditions | Maintain consistent treatment results by keeping operating conditions within the approved process specification. | Monitor applicable variables, which may include bath chemistry, temperature, time, current density, or spray parameters. | Record the variables relevant to the selected process and investigate readings outside defined limits. |
| 5. Account for part geometry | Address recesses, edges, holes, and complex shapes where solution flow, electrical fields, or coating coverage may vary. | Plan racking, orientation, masking, agitation, and access for inspection around critical features. | Inspect representative high-risk areas, including edges, internal features, and shielded surfaces. |
| 6. Verify the treated surface | Confirm that the finished part meets its specified requirements rather than relying on appearance alone. | Use suitable inspection methods, such as visual examination, coating-thickness measurement, or adhesion testing when specified. | Select test methods and sampling plans appropriate to the treatment, part, and applicable specification. |
| 7. Validate performance in service conditions | Check whether the treatment remains suitable under expected exposure, handling, cleaning, and maintenance conditions. | Use relevant laboratory tests or field trials where needed, and review results against the intended application. | Consider exposure duration, environment, test limitations, and inspection or maintenance requirements. |
Inspect it under bright, angled light. Look for streaks, dull patches, and residue near holes.
Feel edges and recesses with a clean, lint-free cloth. Dry the part fully; moisture can hide in seams.
Gloves help prevent skin oils from transferring onto the surface. Small fingerprints matter.
Keep them covered in a clean area and set a practical wait time. Dust can settle quickly.
Record starting temperature, solution concentration, and pH for each run. Use calibrated instruments.
Not blindly. Longer treatment can make results less even; check preparation and settings first.
Gentle, steady movement helps solution reach recesses. Excessive flow may disturb delicate parts.
Inspect rinsing, drying, handling, and measurements. Change one condition at a time and document it.
A small trial batch is safer for learning. I might still miss a cause, so record the details.
What makes surface treatment processes effective is a clear understanding of the result each process is meant to achieve. Before treatment begins, the surface should be cleaned and prepared consistently so that dirt, oils, or existing defects do not interfere with the outcome. The chosen method should suit both the material and the intended purpose, whether that is improving adhesion, appearance, durability, or resistance to wear.
Reliable results also depend on controlling important conditions throughout treatment, such as time, temperature, and application consistency. Once the process is complete, inspect the surface against clear quality criteria to confirm that it meets the required standard. Regular checks and appropriate maintenance can help preserve performance over time. By following these steps, teams can make surface treatment more predictable, effective, and suitable for the needs of the finished product.
